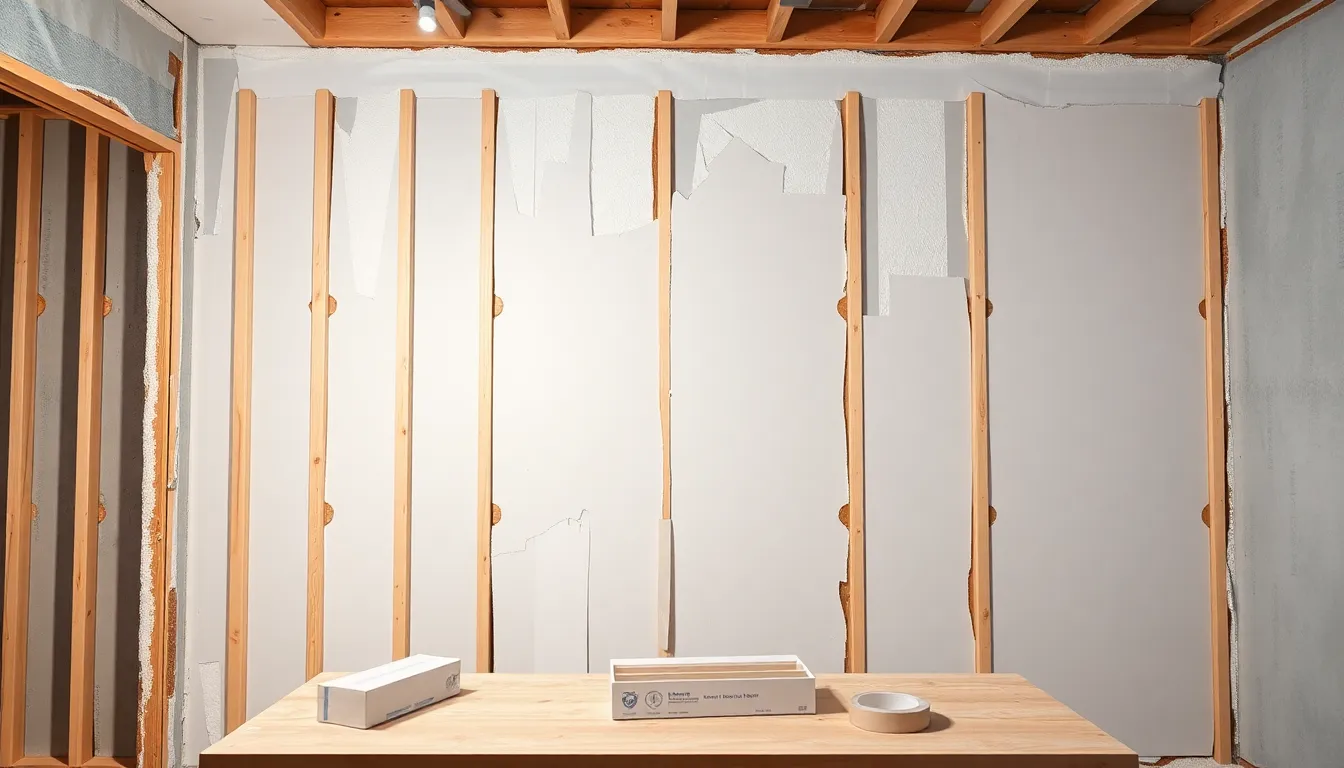
Calculate exactly how many drywall sheets, how much joint compound, tape, and screws you need to drywall any room. Enter room dimensions, subtract openings, and choose your sheet size for a complete materials list.
Room Dimensions
Standard: 8 ft. Some homes: 9 or 10 ft.
Openings (to subtract)
Standard door opening: ~21 ft² each (3′×7′)
Standard window opening: ~15 ft² each (3′×5′)
Large openings, archways, fireplace, etc. Add the exact square footage.
Ceiling
Ceiling area = Length × Width. Uncheck if only doing walls.
Drywall Settings
10% standard. Add 5% for complex rooms with many angles.
1/2" standard: $12–$16. 5/8" fire-rated: $16–$22.
All-purpose premixed mud: $12–$18 per 4.5 gal bucket.
📋 Drywall Materials Estimate
Total Wall Area (4 walls)—
Opening Deductions—
Net Wall Area—
Ceiling Area—
Total Drywall Area—
Sheet Size—
Sheets Needed (exact)—
Waste Factor—
Sheets to Purchase—
Joint Compound Needed—
Drywall Tape Needed—
Drywall Screws Needed—
Total Materials Cost—
Tip: Buy an extra sheet or two for mistakes. Joint compound goes further with experience — beginners often need 20% more mud than this estimate.
How to Use the Drywall Calculator
Measure the length, width, and wall height of your room in feet. The calculator computes the total wall area using the formula: Perimeter × Height (2 × (L + W) × H). This gives you the area of all four walls. The calculator then subtracts standard door openings (21 ft² each) and window openings (15 ft² each), plus any additional custom openings you specify.
If you check "Include Ceiling," the ceiling area (L × W) is added to the total. The total drywall area is then divided by your chosen sheet size to determine how many sheets you need. A 10% waste factor accounts for cuts, odd-shaped pieces, and mistakes — this is the industry standard for rectangular rooms. Complex rooms with lots of angles, soffits, or bulkheads may need 15%+.
Joint compound is estimated at 1 gallon per 100 square feet of drywall, which covers all three coats (tape coat, fill coat, finish coat). Drywall tape runs approximately 1 roll (250 ft) per 500 square feet. Screws are estimated at 1 per square foot, which gives you the standard 12″ spacing on walls and 8″ spacing on ceilings.
Drywall Installation Tips
Hang ceilings first, then walls. Wall sheets butt up against the ceiling sheets, supporting the ceiling edges and creating a cleaner corner joint.
Stagger your joints. Offset vertical seams by at least one stud bay (16″) between adjacent sheets. Never line up four corners — it creates a weak spot prone to cracking.
Use the right thickness. 1/2″ is standard for walls. 5/8″ is fire-rated (Type X) and required by code for garages, furnace rooms, and between-unit walls in multi-family. 1/4″ is for laminating over existing surfaces only — never for primary installation.
Pre-fill gaps before taping. Fill any gaps wider than 1/8″ with setting-type compound (durabond) before applying tape. This prevents tape from sagging into voids.
Feather your edges. Each coat of mud should extend 2–4″ wider than the previous coat. A properly feathered joint is invisible after painting — hold a flashlight parallel to the wall to check for shadows.
For a standard 12×12 room with 8-foot ceilings (one door, two windows), including ceiling: the total wall area is 2×(12+12)×8 = 384 ft². Subtract openings (~51 ft²) = 333 ft² net walls. Add ceiling (144 ft²) = 477 ft² total. Using 4×8 sheets (32 ft² each): 477/32 = 14.9 sheets. With 10% waste: ~17 sheets. Plan to purchase 17–18 sheets. For walls only (no ceiling): ~12–13 sheets.
4×12 sheets reduce butt joints (horizontal seams) in rooms with walls longer than 8 feet, creating a smoother finish with less taping. They're ideal for 9-foot ceilings and long walls. However, 4×12 sheets are heavier (80+ lbs vs. 55 lbs for 4×8), harder to maneuver solo, and won't fit in standard stairwells or tight hallways. For DIY, 4×8 sheets are far more manageable. Pros often use 4×12 for speed on open-plan projects.
Plan for about 1 gallon of pre-mixed joint compound per 100 square feet of drywall, which works out to roughly 0.3–0.4 gallons per 4×8 sheet for all three coats. A standard 12×12 room needs about 4.5–5 gallons total (one 4.5-gallon bucket). Beginners often use 20–30% more mud while learning to apply thin, even coats. Setting-type compound (powder you mix) goes further by weight — a 25-lb bag covers roughly the same area as a 4.5-gallon bucket of premix.
Green board (moisture-resistant) has a wax-treated paper facing — use it in bathrooms and kitchens as a tile backer for walls, but never in wet areas like shower stalls. Blue board is designed for veneer plaster finish, not taping and painting. Regular white/gray drywall is for standard interior walls and ceilings. Purple board (XP) is mold- and moisture-resistant, an upgrade for high-humidity areas. For true wet areas (shower surrounds), use cement board or foam backer board, not any type of drywall.
For a 12×12 room, an experienced two-person crew can hang all the drywall in 4–6 hours. Taping and mudding takes 2–3 days due to drying time between coats (24 hours per coat in normal conditions). Sanding and final prep adds another 2–3 hours. A DIYer working alone should plan for 2–3 days to hang and 4–5 days to finish (including drying time). Setting-type compound (hot mud) can reduce drying time to 1–2 hours between coats, but it's harder to sand than premixed compound.